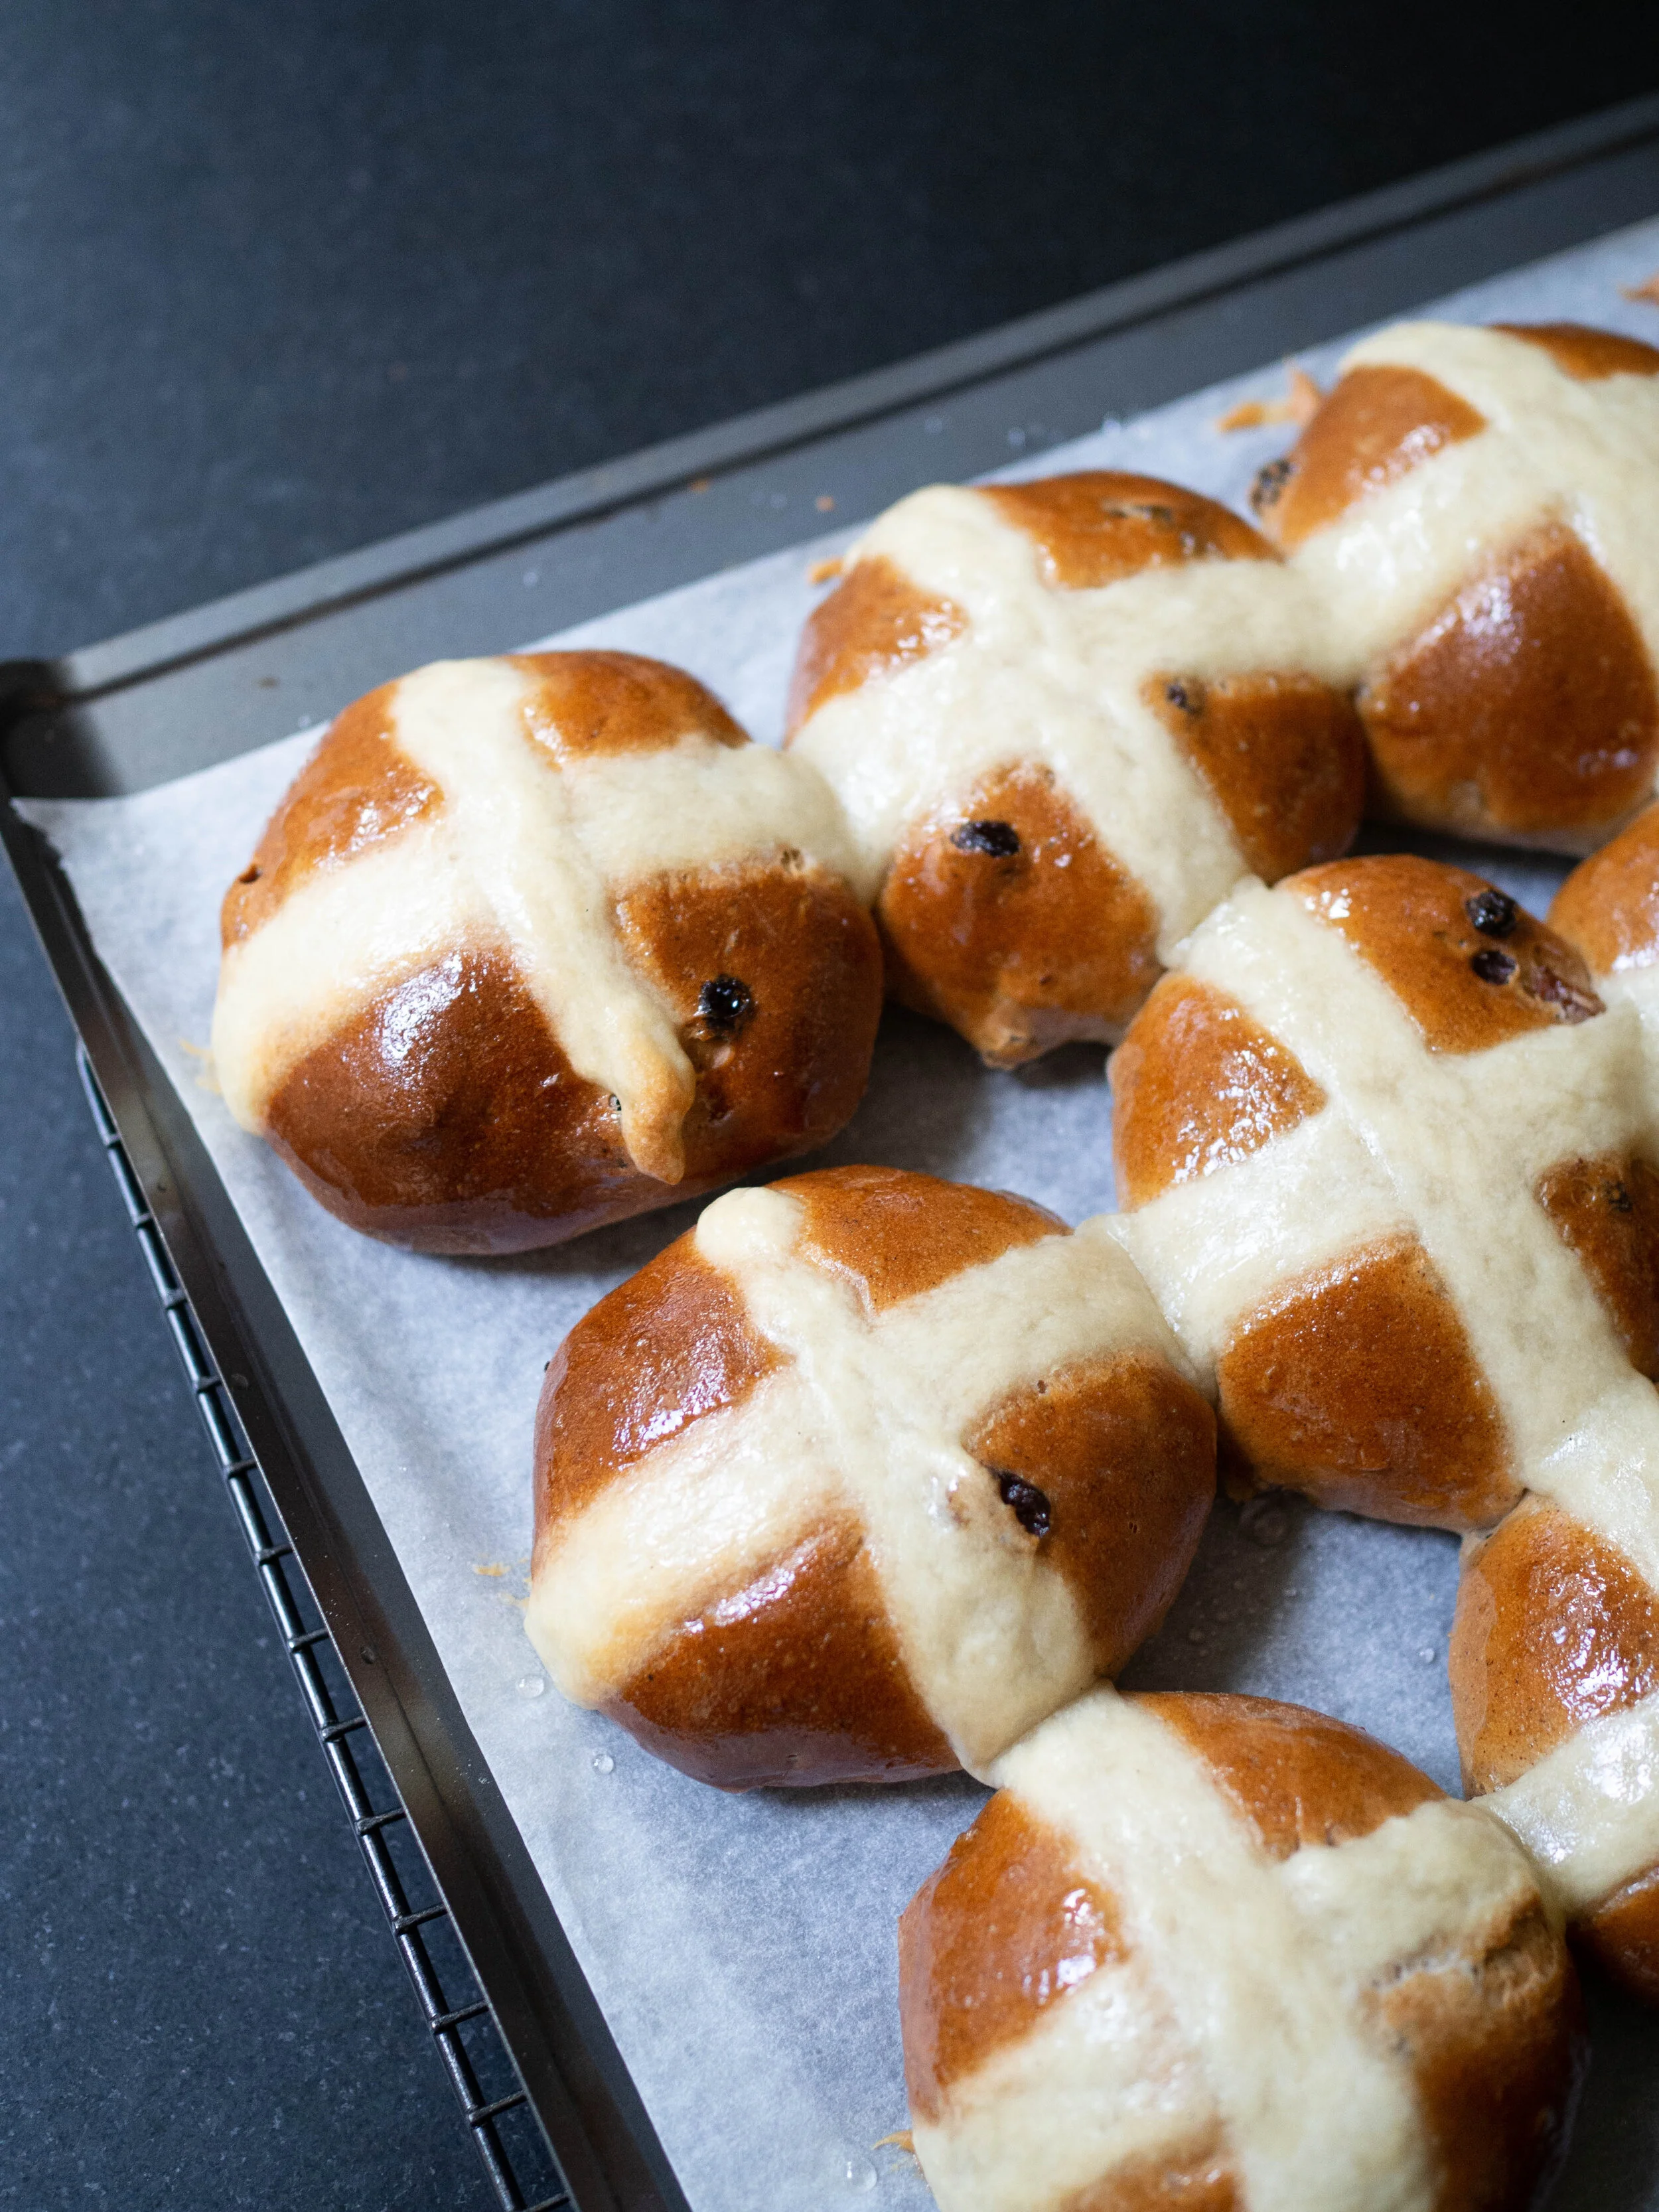
Yes, I know what you are thinking. Again with the challah? I made a babka with challah dough not that long ago, and as I said then, I believe challah is the best type of bread so it could only ever improve a recipe.
I am also aware that this recipe is in no way ‘kosher’. Challah is a Jewish bread most commonly eaten at Friday night Shabbat, and hot cross buns are made to celebrate the Christian holiday of Easter. I am also quite aware that the Jewish holiday of Passover often falls at the same time as Easter (as it does this year), and that leavened foods such as challah are not eaten during this time. So, definitely not ‘kosher’.
Despite this, I maintain that challah is the best kind of bread, so trying to make hot cross buns with it was always going to happen for me. And if the religious contradictions are just too much, call them (challah) spiced fruit buns (great for any time of year) and leave it at that.
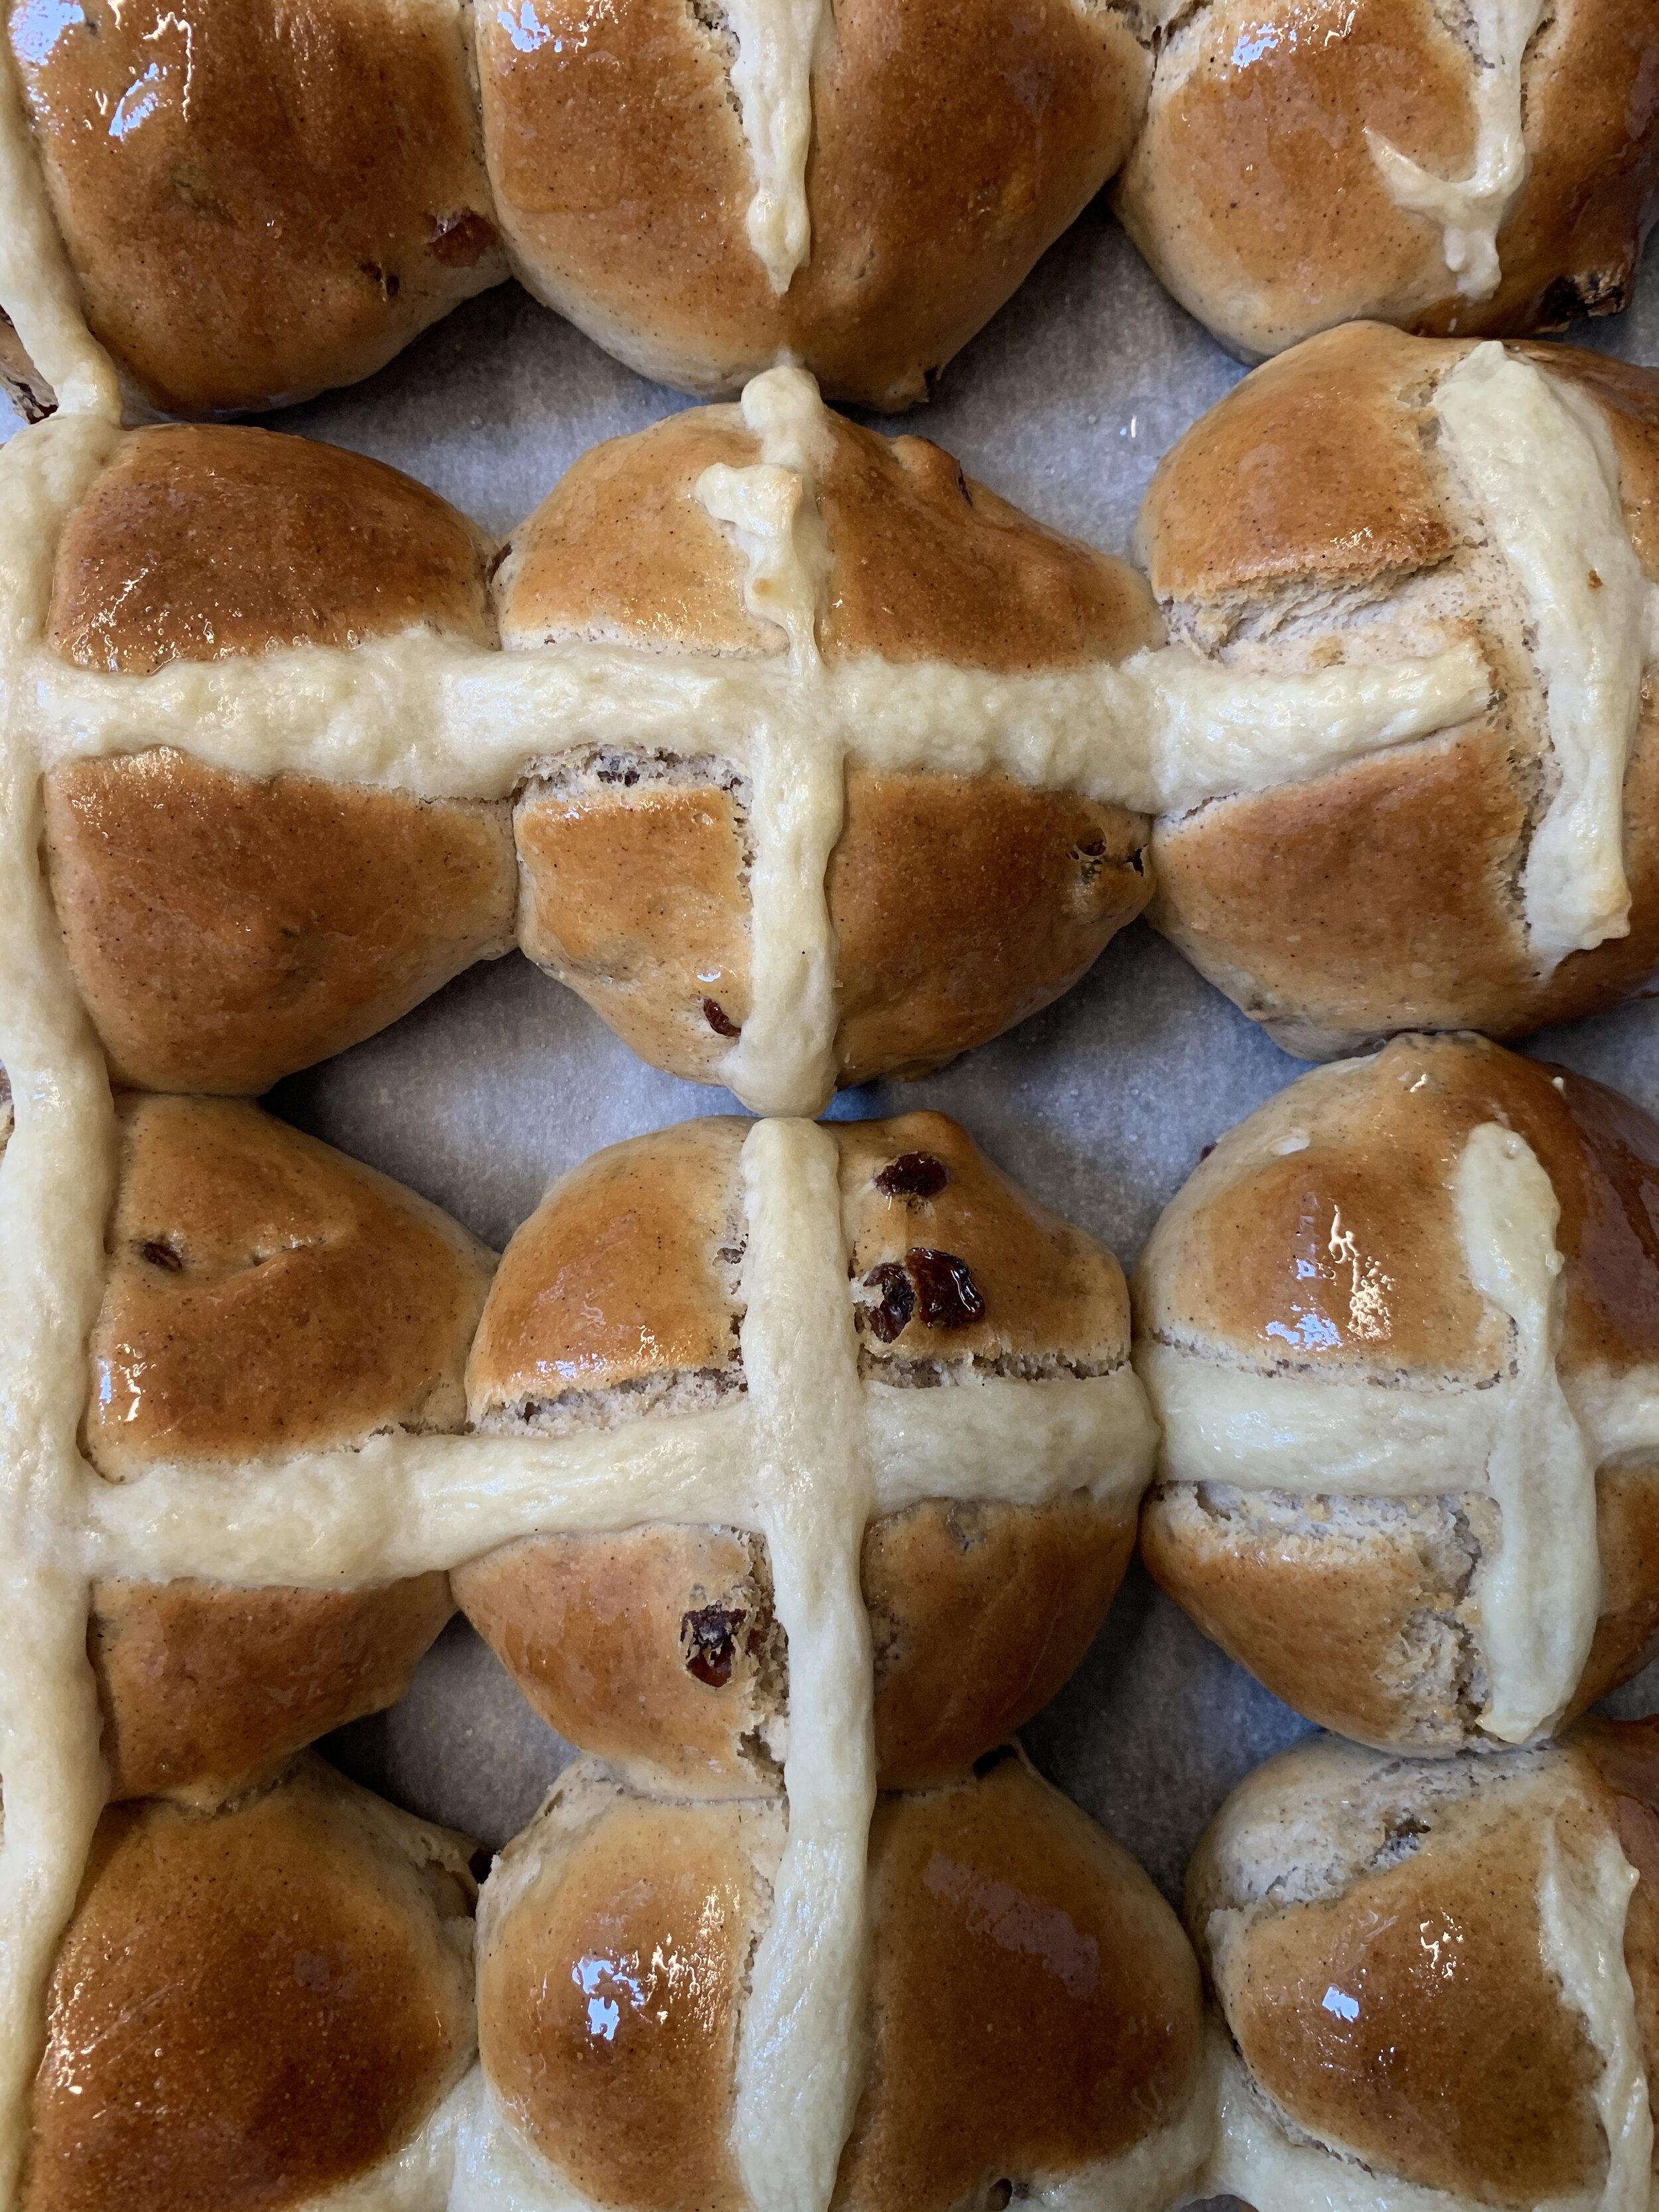
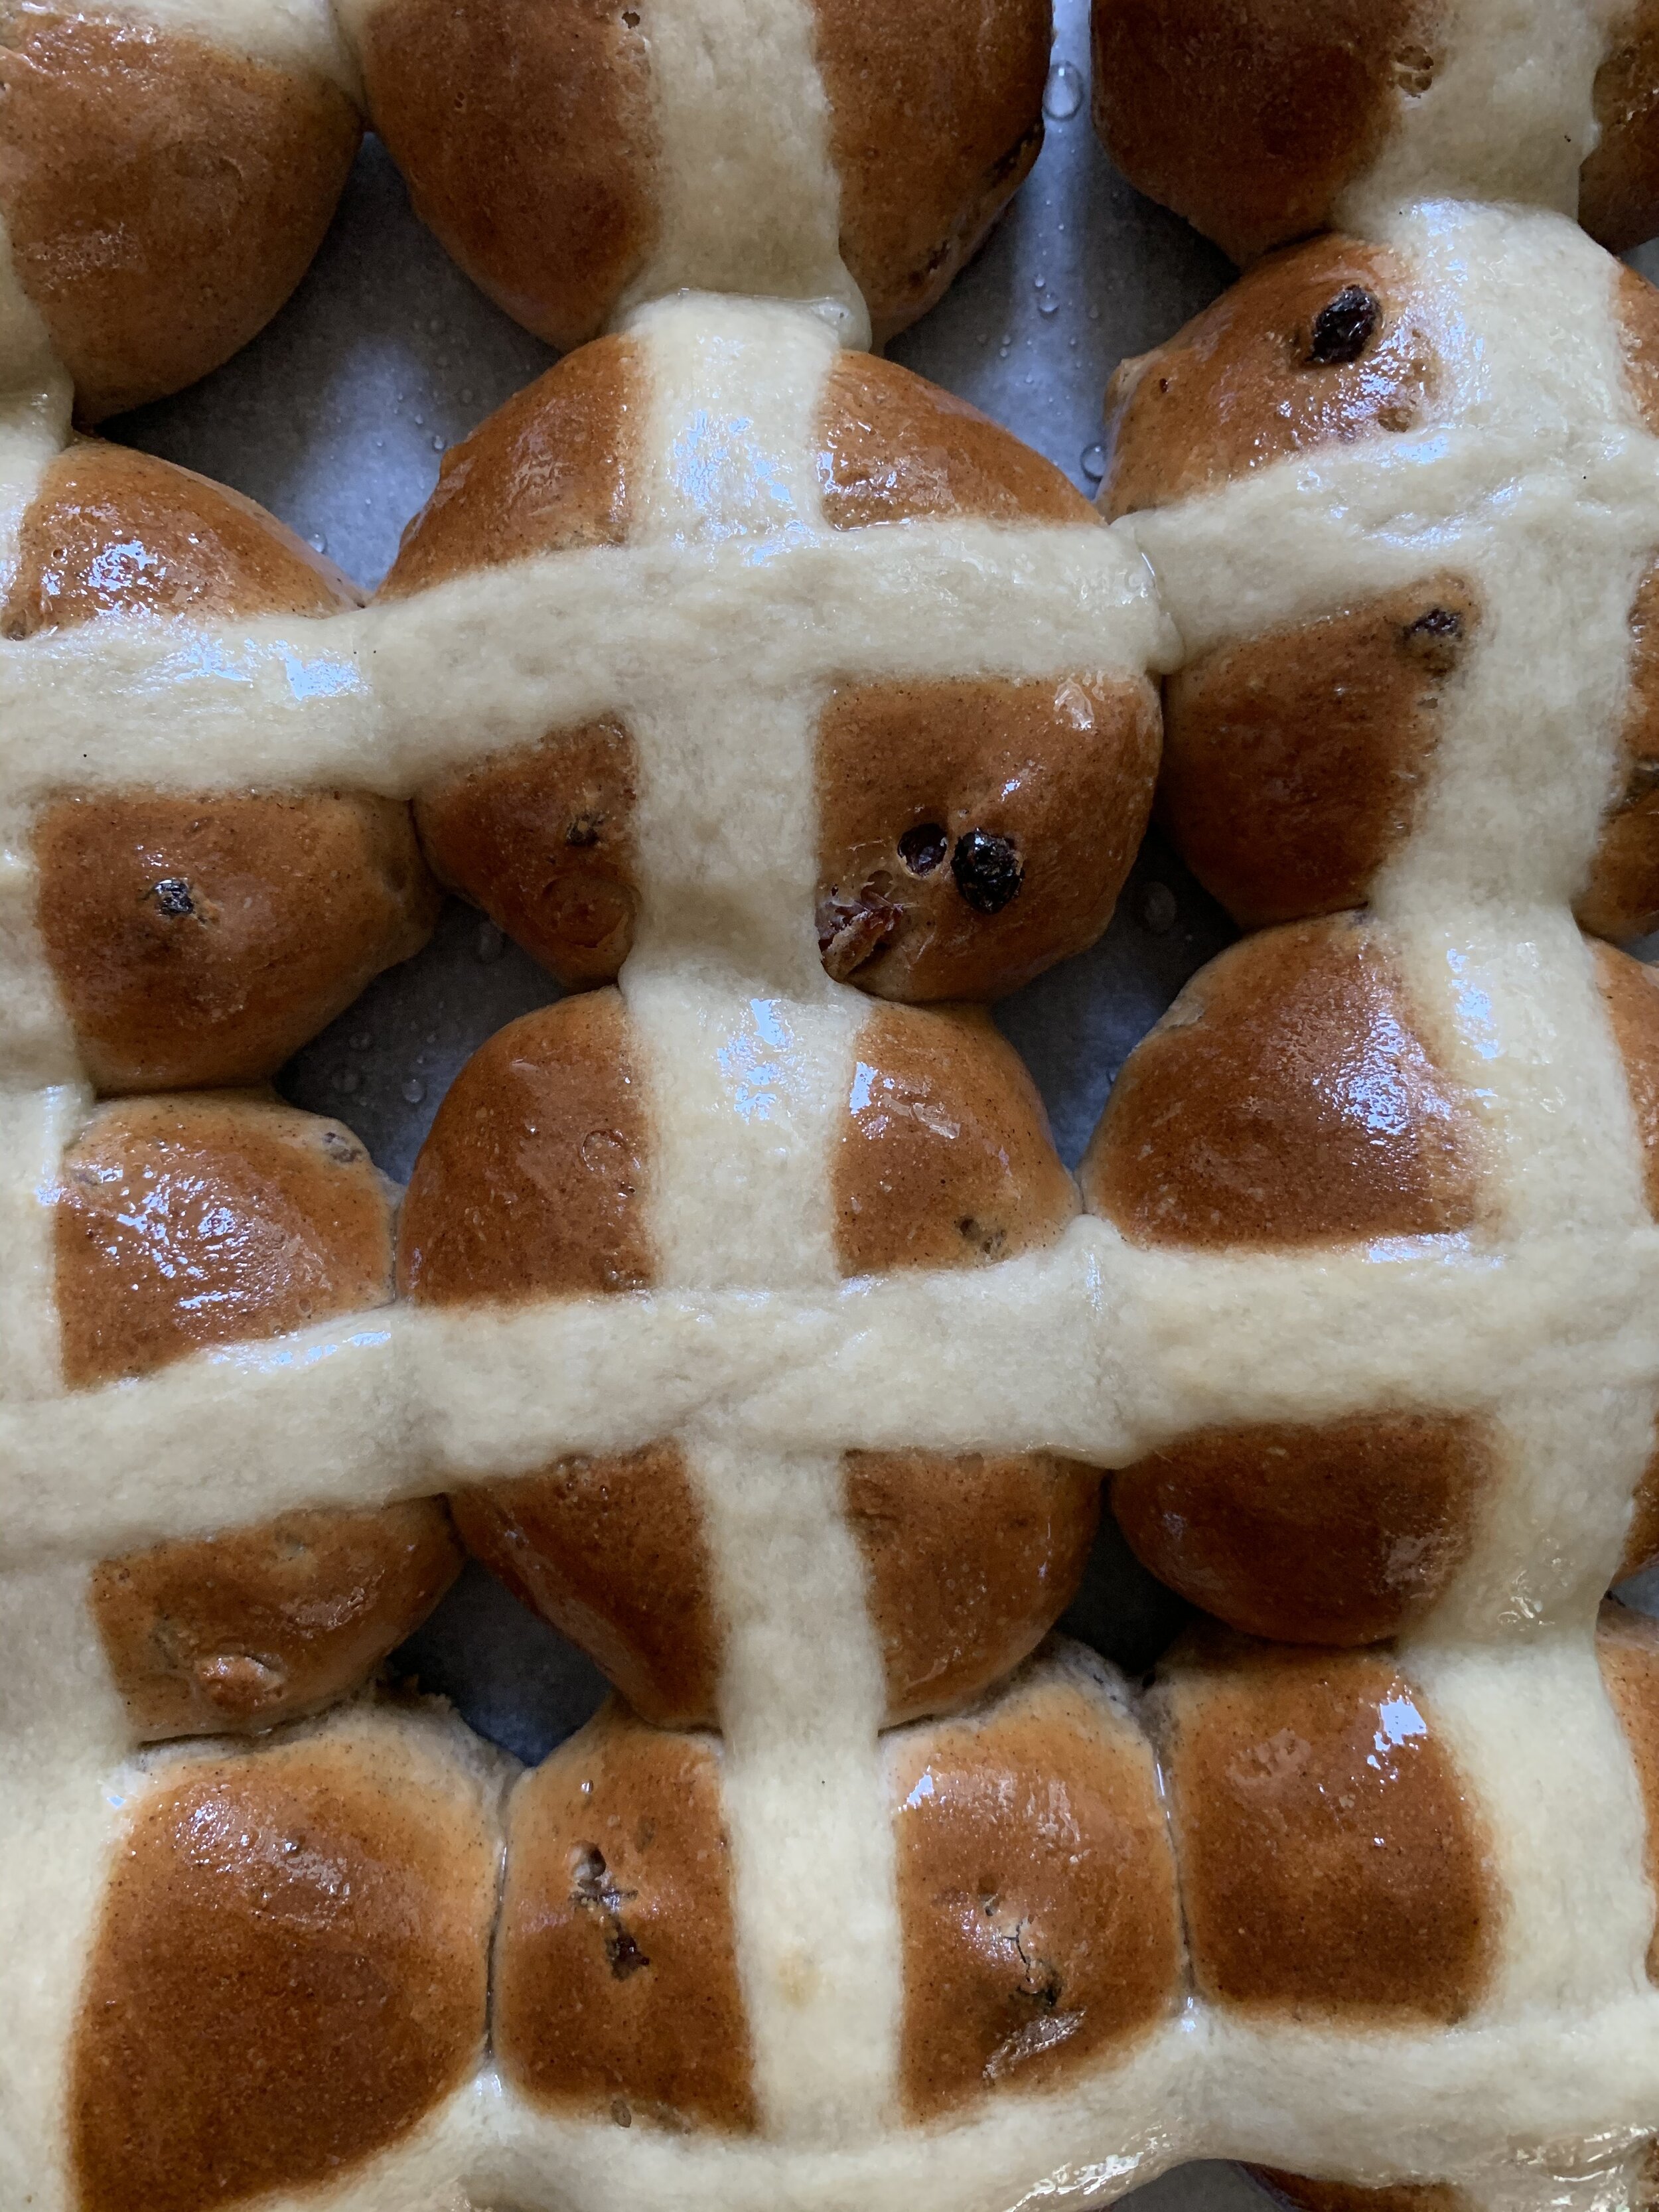
I often find when making hot cross buns, that I can never get them to look identical, and that using the same recipe doesn’t always yield a batch that looks the same as last time. I have found this occurs for a few reasons. Firstly, I never weigh the dough so I never get my individual buns exactly the same weight/size. I may try this next time I make them (which should be soon since we are socially isolating right not and not going to the shops to specifically buy hot cross buns so homemade is it for now!), and if I do I will update the recipe below.
Secondly, I find it depends how my dough proofs. When making bread dough in warmer conditions I don’t have any issues with my dough rising. Now the weather has cooled down a bit, I am finding my bread doughs are not rising the same amount in the same time frame. To combat this, the last time I made these, I proofed the dough in our plate warming drawer under our oven, at 30 degrees Celsius (which is it’s lowest temperature) leaving the drawer open as the ideal temperature for proofing dough is about 25-28 degrees Celsius.
This batch of challah hot cross buns turned out larger than the previous batch, which had been proofed closer to room temperature. This first batch were smaller, and had cracks in the dough on the top, which I later found out was a sign that a dough is under proofed. For some more tips on proofing bread dough check out this blog post from BakeClub I found quite helpful.
Thirdly, I always do the final proof and bake of my hot cross buns on a flat baking tray. This means the dough can spread in away way it wants. Using a baking tray with sides may help get a more even look to my hot cross buns as the dough will not be able to rise and spread in any which way. Again, if I try it this way next time I will update the recipe below.
On a final note, you don’t have to soak the sultanas in anything but I prefer them to be a little plumped up. The addition of the vanilla when soaking the sultanas is lovely, and the more fragrant the vanilla extract you use the better - I have found using the vanilla extract from Grounded Pleasures yields the best flavour. Just make sure the sultanas are well drained before adding to the dough. And for reference the quantity of spices I use for the dough adds up to approximately 12-13g, so if you wish to alter the quantities of individual spices or types of spices just keep it to that total weight (or add in more plain flour to make up the difference).
Vanilla Scented Challah Hot Cross Buns
Ingredients for the Dough:
200g golden sultanas or raisins (cut in half if very large)
2 tbsp vanilla extract
2 tbsp hot water
490g plain flour, plus extra
250ml warm water
9g dried yeast
85g golden caster sugar
3/4 tsp salt
1 egg, beaten
63ml canola or vegetable oil, plus extra
1 tsp vanilla bean paste
2 tsp ground cinnamon
1 tsp ground ginger
1 tsp ground cardamom
1/2 tsp ground nutmeg
1/2 tsp mixed spice
Ingredients for the Glaze:
100ml water
50g caster sugar
50g vanilla sugar (see here for how to make your own vanilla sugar)
Ingredients for the Cross (if using):
90g plain flour
8g icing sugar (confectioners)
pinch of salt
15ml canola or vegetable oil
75ml water (room temperature/tepid is best)
Method:
Place the sultanas in a small bowl, and cover with the hot water and vanilla. Set aside.
Place the flour into a large bowl (one that fits your stand mixer if you have one). Make a well in the centre of the flour, then pour in the warm water. Add the yeast and 60g of the golden caster sugar and stir (don’t mix in the flour at this stage). Leave for 10-15 minutes, or until the yeast has become foamy.
Then add the salt and remaining sugar, stir again (don’t mix in the flour at this stage), and wait 5-10 minutes for the yeast to become foamy again.
Once the yeast is foamy, add the egg, oil and vanilla to the yeast mixture and combine. Then start to gradually incorporate the flour into the wet mixture. Once everything is combined, attach your bowl to your stand mixer fitted with the dough hook, add the spices, and knead on a medium speed for about five minutes. The dough will be smooth and a little sticky once done. If the dough is too sticky, add a little more flour (1-2 tbsp).
While the dough is kneading, lightly oil a large bowl and drain the raisins well.
Dust your work surface with flour and tip the dough out. Add the raisins and knead by hand to combine into the dough. Add small amounts of flour if necessary to counterbalance any moisture the sultanas have added and to make the dough a bit less sticky. There is no need to knead the dough for too long, as your stand mixer has done most of the work already.
Once the sultanas are incorporated into the dough, place into the oiled bowl and cover. Leave in a warm spot for about 1.5 hours, or until the dough has risen and doubled in size.
While the dough is proofing, make the glaze. Place all ingredients into a small saucepan and place over medium/high heat. Bring to the boil, and allow to bubble for 30 seconds. Remove from the heat and set aside to cool.
Line a baking tray with baking paper.
Once the dough has risen, flour your work surface and tip the dough out. Lightly flour the top of the dough if necessary. Cut the dough into 12 equal pieces - I do this by shaping the dough into a fat log shape, then cutting it in half, then dividing the two halves into six pieces each.
Roll each piece of dough into a bun shape by folding the sides of each piece to the centre and pinch to close. This will now be the underside of your bun. Place the pinched side down, and cover your hand over the ball of dough like a loose claw. Rotate the ball of dough under your hand using the claw shape, to gently smooth the dough and form into a nice ball shape.
Place each ball of dough on the prepared tray, in a 4 x 3 formation. I usually leave a little space in between each to allow for more rising during the final proof and during baking.
Cover the dough again and leave in a warm spot for about 30 minutes, or until the dough has risen.
While the dough is rising, preheat oven to 180 degrees Celsius.
If using, make the cross paste by whisking together all the ingredients in a medium bowl until it is a smooth yet paste like consistency. The warmer the water is in this the runnier it will be, I often use warm water rather than room temperature, which is why my crosses are thicker and fat as the paste is a little runnier.
Place a piping bag or zip lock bag inside a large glass and turn the edges of the bag over the outside of the glass. Fill the piping bag with the cross mixture, and twist the top to close (I like use a peg to seal the top a bit more).
Once the dough has risen, cut a small amount of the piping bag tip off and pipe the cross over each bun. Do this by piping one long line over each row of buns, then finish it off doing the same in the other direction.
Bake for 20-25 minutes, rotating the tray in the oven about half way to help the buns cook and brown more evenly. The buns will be ready when they are golden on top and sound hollow when tapped.
Remove from the oven, and place the tray on a wire rack. Using a pastry brush, paint the tops of each hot cross bun with the glaze. You will not need all of the glaze - if you think you will make another batch soon, store it in a jar in the fridge and it can be used again (just bring it to room temperature before glazing).
These challah hot cross buns are delicious served warm from the oven, or toasted under a grill the next day. They also freeze well, and I recommend you do so if they won’t all be eaten soon after baking.
Recipe Notes (12/04/2020):
The next couple of times I made these I have weighed the dough and each bun needed to weigh between 97-100g. I found this did help make them look even more uniform. So I would definitely recommend weighing your dough after the first proofing and dividing that number by 12 to get exactly the weight of each bun based on your dough at the time.
I have found that one batch of the sugar syrup is enough for 4 separate batches of hot cross buns.
The amount of mixture you need for the cross seems very dependent on how big or small you cut into your piping bag. Sometimes I feel a barely have enough for all the buns as I have cut a larger slit into the bag, other times there are leftovers as I have cut a much smaller slit!
References: ‘Monday Morning Cooking Club - The Food, The Stories, The Sisterhood’ by Merelyn Frank Chalmers, Natanya Eskin, Lauren Fink, Lisa Goldberg, Paula Horwitz and Jacqui Israel (HarperCollins, 2013), p.263; ‘Beatrix Bakes’ by Natalie Paull (Hardie Grant Books, 2020), pp.176 & 192-3.


