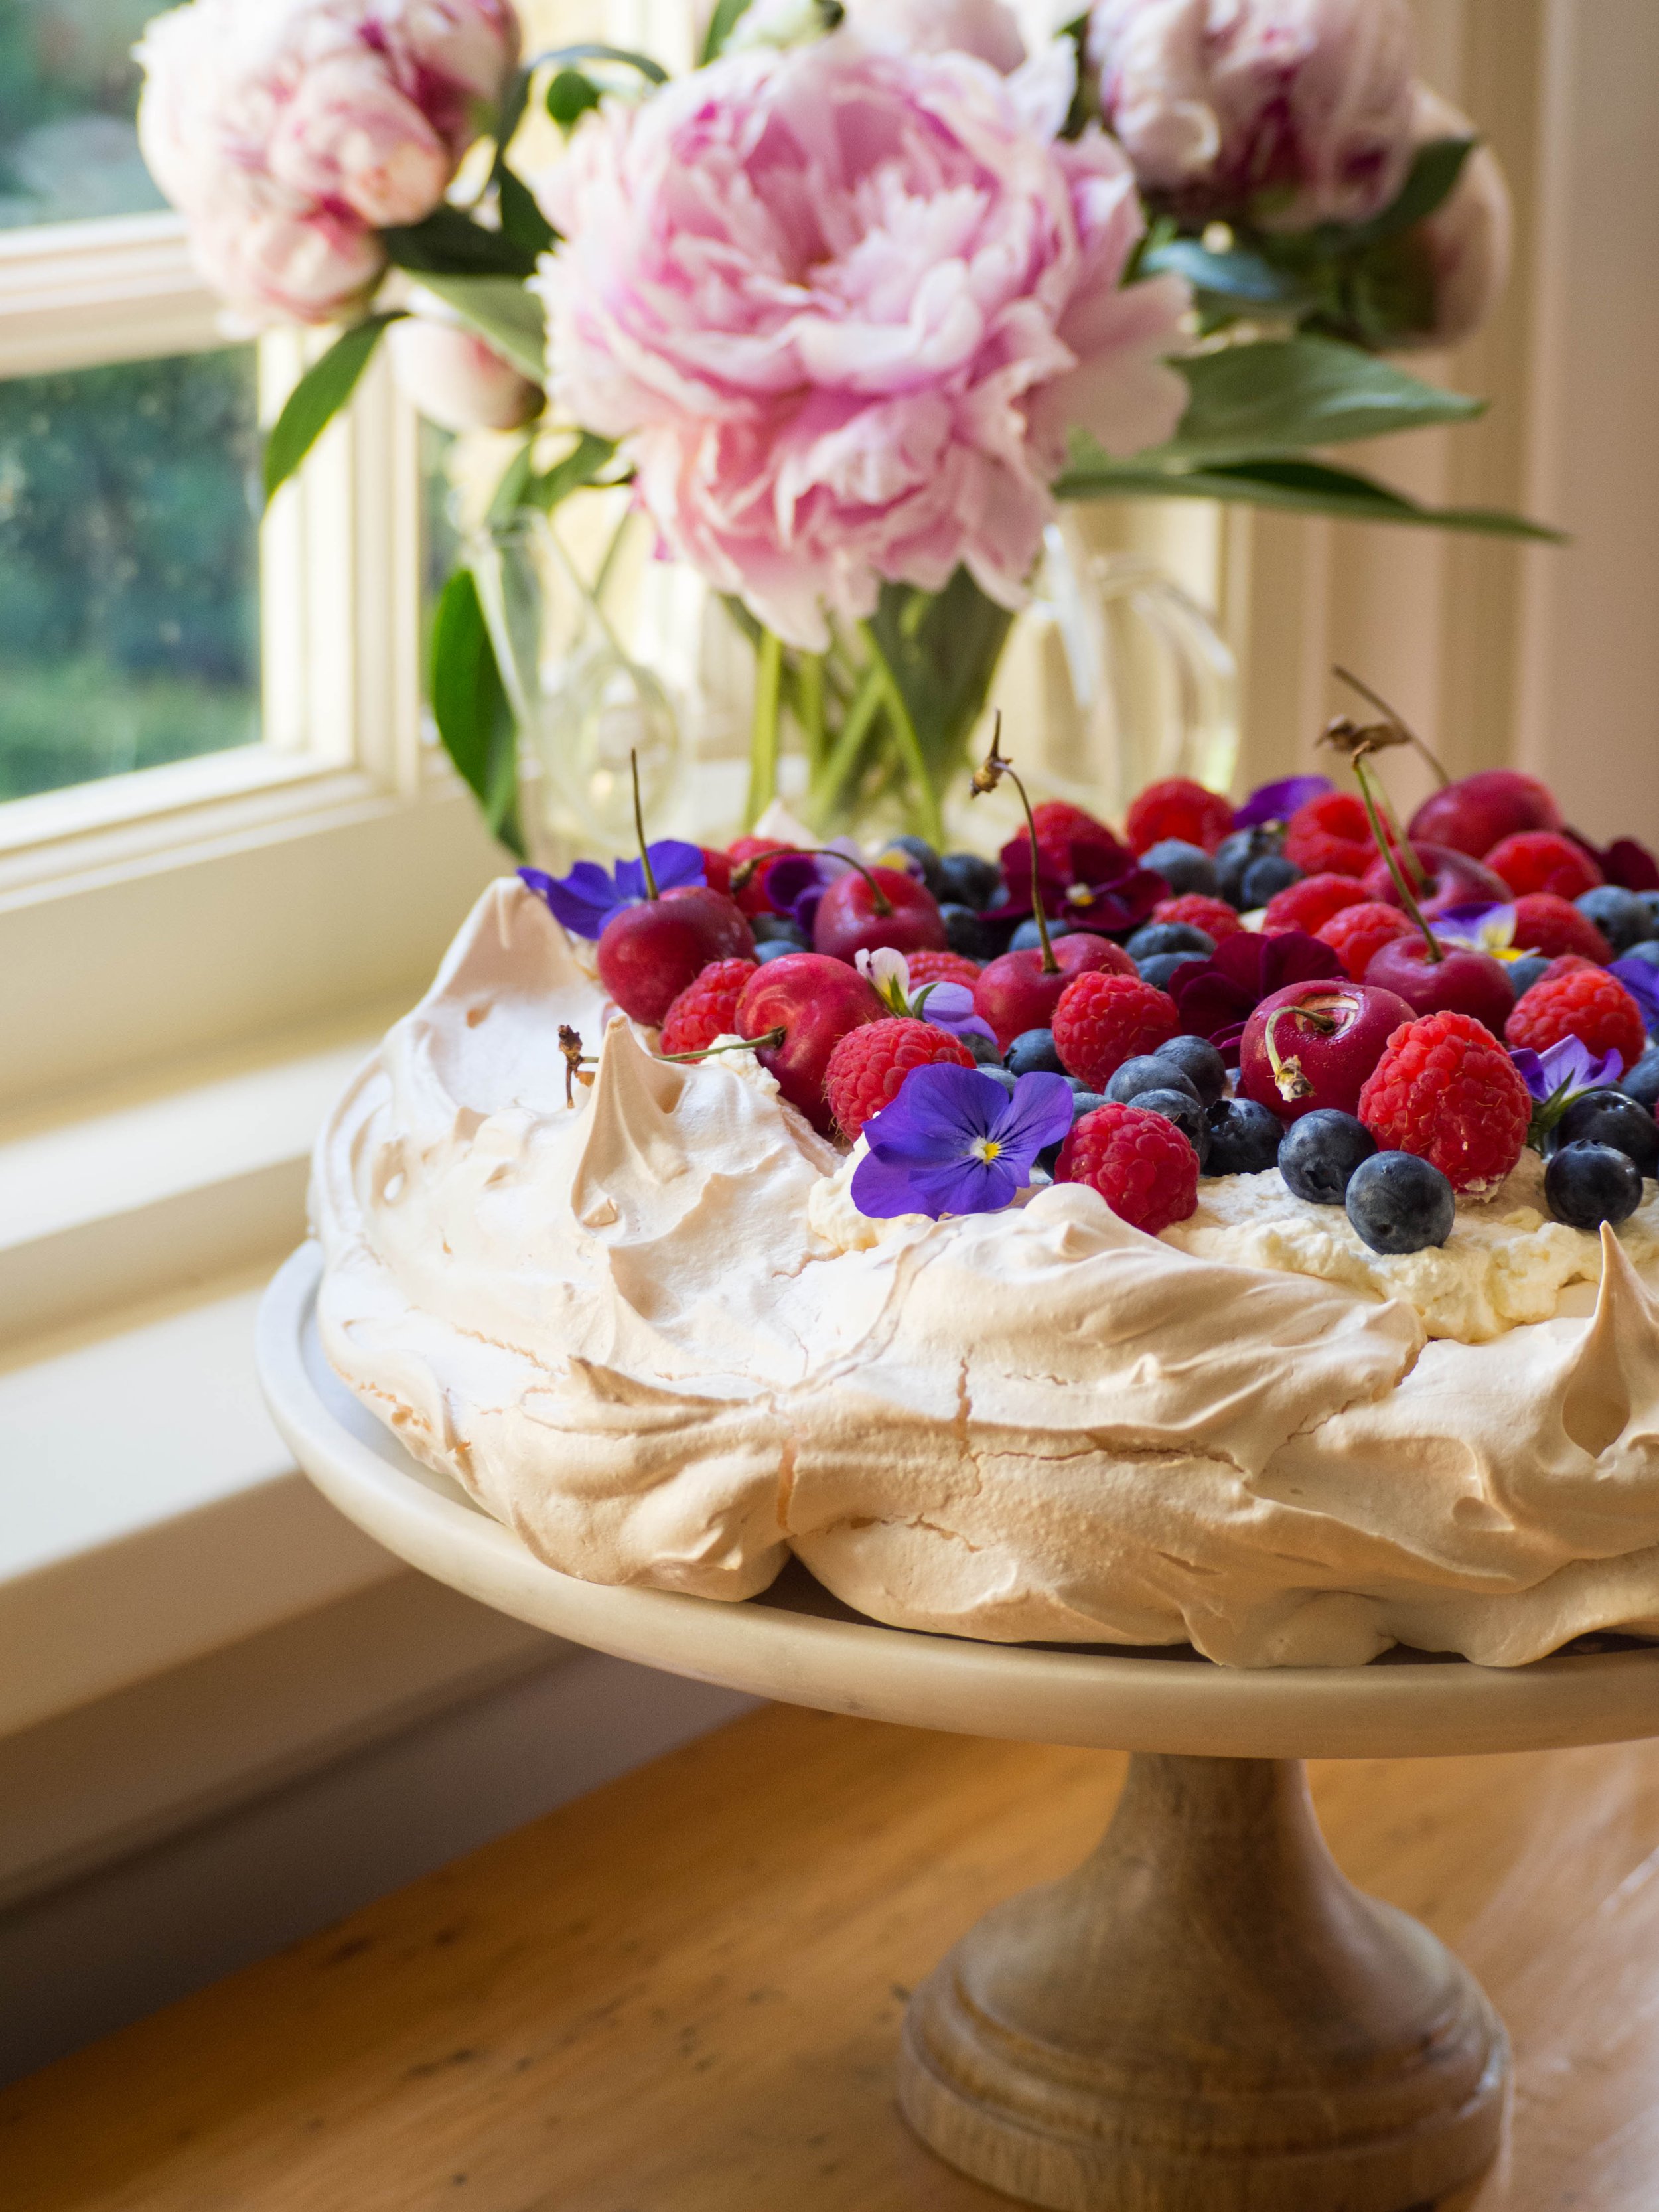
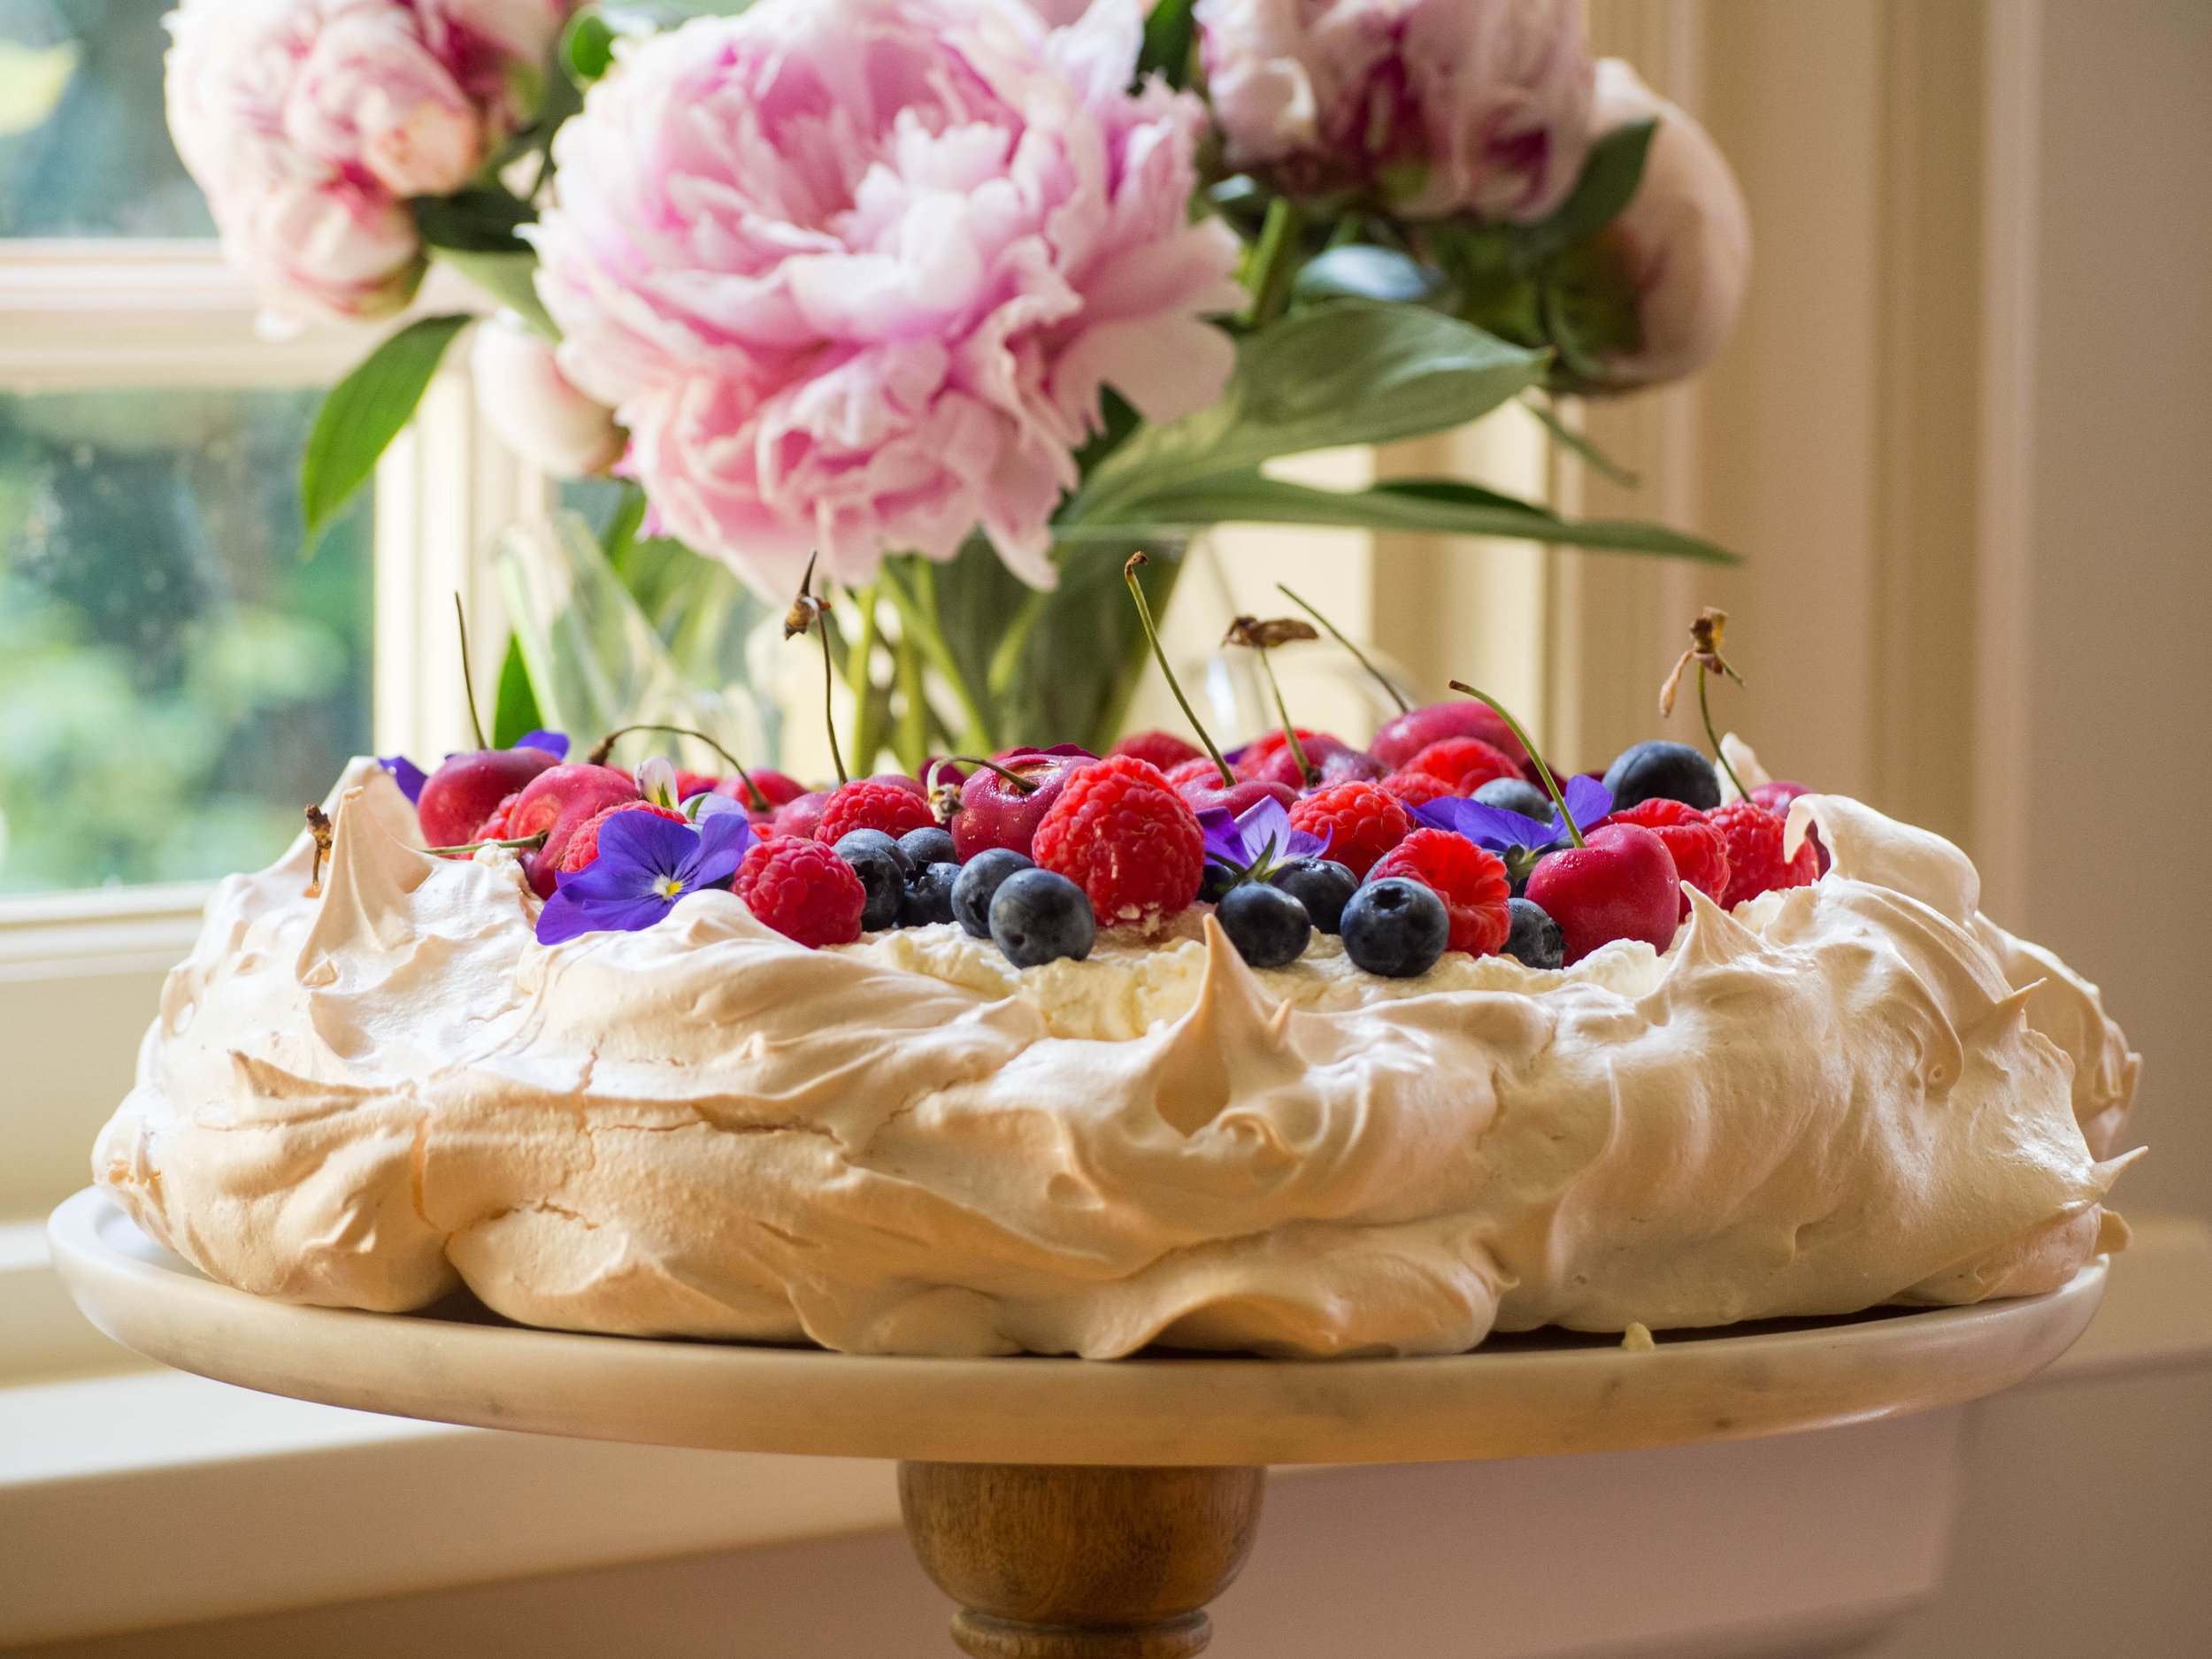
I have posted a handful of Pavlova recipes on my blog over the years. I love a Pavlova, it was my favourite dessert that my Grandma would make and it has been quite a permanent feature in my life.
Christmas in Australia is an excellent time for a Pavlova (or ‘Pav’ as we Aussies like to shorten it to!). The pavlova itself can be made in advance, and it is a nice light dessert after a filling Christmas lunch or dinner.
This recipe for pav is the more traditional Australian take on the dessert, compared to the previous recipes I’ve shared. It is based on my Grandma’s recipe which is always the recipe I turn to when I want to make a pav. I shared her original recipe here a few years ago. That one makes a slightly smaller pav and doesn’t have any toppings as that’s how I liked to eat it as a child. Times have very clearly changed since then!
Topped with cream, berries and cherries its delicious and makes the most if the excellent in season fruit we have here at this time of year. You could also top your pav with mix other types of fruit, like mango, kiwi fruit, strawberries, stone fruit etc. It’s really up to you and what you most like to eat.
I haven’t given quantities for the fruit as you can put as little or as much as you like, just go with what looks good. I tend to put a whole punnet of blueberries and raspberries and add in a few cherries, maybe some cut up strawberries and a few edible flowers if I can get any.
If you have any leftovers you can cover the pav and store in the fridge for about 2 days.
An Aussie Pav for Christmas
Ingredients:
6 egg whites
375g caster sugar
1.5 tsp white vinegar
1.5 tsp vanilla bean paste or vanilla extract
30g cornflour
For the Topping:
300ml pouring cream
1/2 tsp vanilla bean paste
mixture of berries, such as blueberries and raspberries
handful of cherries
edible flowers, optional
Method:
Preheat oven to 200 degrees Celsius. Line a large baking tray with baking paper. Trace a circle on to the baking paper, using a plate or cake stand that is about 26-28cm in diameter (you can use whatever plate you will serve it on later).
Add the egg whites to the bowl of a stand mixer, and beat using the whisk attachment for 5-6 minutes. Gradually add the sugar during this time, a tablespoon or so at a time.
Add the vinegar and vanilla and continue to beat until the mixture is glossy and holding its peak.
Sift the cornflour over the mixture and gently fold into the meringue using a spatula until just combined.
Using your finger, place a tiny amount of the meringue mixture under two corners of the baking paper on the prepared tray. This will keep your baking paper in place whilst you shape the pavlova.
Place the meringue onto the prepared tray, keeping within the traced circle. Spread it out using a spatula, keeping the sides of the pavlova high and the middle a little lower (so it can hold the cream and fruit later!). I like to leave a little gap between my pav and the traced circle, rather than pushing the meringue right to the edges. The pav will expand a bit as it cooks, and if you’ve traced around the serving plate you will use later on, this way the pav will still fit on the plate rather than expanding past the traced circle, and therefore becoming bigger than your serving plate or cake stand!
Turn the oven down to 125 degrees Celsius and cook the pav undisturbed (don’t open the oven!), for 1.5 hours. After 1.5 hours, turn the oven off and leave the pav to cool completely in the oven (leaving it overnight to cool is best if you can).
Just before you are reading to serve your pav, whip the cream and the vanilla until the cream has thickened and forms soft peaks.
Spread the cream over centre of the pav, and decorate with the berries (or your fruit of choice), and some edible flowers if you wish.
Serves at least 10 (depends on how generous your slices are!).


